Alphabet bunting

Alphabet bunting
what we did last summer....

Saturday 3 October 2015

FRAME IT! - Tin foil picture frames


Today in preparation for an after school club I'm am running with a friend we made tin foil picture frames. I hadn't made them before but it was really easy and a great outcome!

First we cut out some frames from thin corrugated card (I actually think thicker card would be better) we cut out lots of random shapes from different thicknesses of card and used some adhesive foam shapes too, We stuck the shapes onto the frame using PVA glue.

Next we brushed PVA glue all over the front of the frame and covered it in a sheet of tin foil slightly larger than the frame. We were quite speedy doing this so the glue didn't dry. We pressed the foil lightly onto the cardboard. Then I trimmed the foil to allow a couple of centimeters extra round the edges, covered the back of the frame with glue and folded the foil over.

Lastly we rubbed the foil carefully over the shapes underneath it. You have to be careful not to tear the foil. Then we rubbed shoe polish onto the frame, wiping it off and re-applying two or three times.

So now there's no excuse.....FRAME IT!

Friday 1 August 2014

Introducing M to Matisse

We are (fingers crossed) off to see the Matisse Cut-outs exhibition at the tate so in preparation I read M Henri's Scissors

This is a really good book explaining the story behind Matisse's Cut-Outs. It's a little sad at the end as (spoiler alert!) Matisse obviously dies but I prepared M for this and she was fine about it,  It always gets me though!!

Then I showed her a book I have with lots of Matisse's Cut-Outs in.


So hopefully now she's prepared she will enjoy the exhibition and I can too! Children including teenagers always seem to respond really well to Matisse's Cut-Outs and the story behind them. I'm looking forward to doing some cut-outs of our own next week! 


Monday 28 July 2014

Flag waving !

If you are flagging !! (Sorry!) already this summer holidays this kept us busy for a hour or so this afternoon while we listened to the thunder and lightening!


I'm hoping to run a raindrops and paint pots taster session soon and I had an idea to have flag making to go with a bigger group treasure map making activity.

We made the flag using a piece of white card, folded one edge and taped it to leave a gap to fit a "flag pole" I was planning on using a wooden spoon but they aren't really long enough so it's a toy broom for now with a trip to a DIY shop in the next day or two! 


I talked to M about what she knew about flags, when you see them and what they are for. Then she suggested some ideas for her own imaginary country that we would make a flag for, the language they spoke, what food they eat, if it's hot or cold. The Charlie and Lola episode "welcome to lolaland" would be good to watch before doing this activity. 


When I'd written down some of her ideas she started to think about what to put on her flag. We used stencils and felt tips, after a few suggestions from me "it's a cold country so you could draw a hat and gloves" I left M to it and this is what she came up with.


You could write the name of the country on the flag if you wanted to do some writing practise, or you could cut pictures out from magazines, use stickers etc. 

Details of taster session coming soon! Happy summer holidays everyone!

Tuesday 11 February 2014

It's raining, it's raining again (and again)

Since it looks very likely that most people in the UK will experience at least 3 rainy days this week here are 3 rainy day ideas for you to try. I'll follow them up will full posts on each one soon.

Make a map
M loved this as she's a bit pirates and treasure map obsessed at the moment, although soon enough it became a map of Hong Kong apparently! Tape a piece of paper to the floor, start with some basic shapes to represent mountains, roads, lakes, rivers etc and then get out crayons, felt tips, collage, glue, paint etc add play mobil people or similar! This map stayed on our kitchen floor as a play mat for over a week, and kept M and P busy while we cooked. Lots more great map making ideas if you follow the link here


Draw things in Jars
Containing objects often helps you draw them. We had lots of things we'd collected from the beach and walks so we put them into 3 different jars and drew them using sticks dipped into drawing ink but you could use something less messy! I drew a template for M to draw round to draw the jars - you could find an image online of a jar and use that to make a template. It might be nice to draw onto colour paper with black pen or equally draw in colour. Have a look on my pinterest for more drawing ideas.

Make a pop-up book
This is better for older children, pre-school and up. It can be as simple or as complex as you like. You can find loads of pop up tips on line and on pinterest etc. It's definitely something I'd do again, M really liked it. I've been collecting making book ideas ready for our next story!


Sunday 2 February 2014

Painting, Printing, Stamping

Just a bit of painting, printing and stamping fun from a couple of weeks ago....

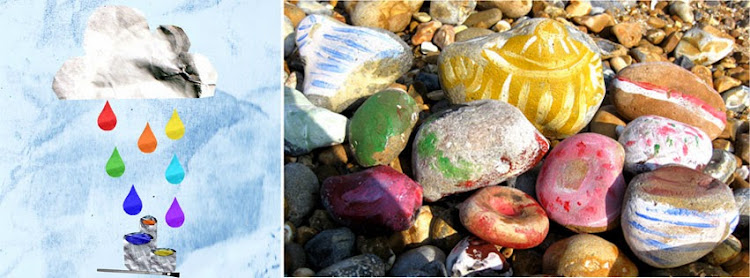
After taping some paper to the kitchen floor we started off by mixing colours (being an art teacher this is a bit of an obsession - teaching children to mix colours and not just use the ones straight out of the tube!) We put 6 paper plates down and squeezed Red, Blue and Yellow onto three of them and then put a plate in between each one an I got M to take a bit of paint from the plate either side and mix them up and to guess what colour it would make.


The paper plates worked well as there was lots of room to mix the paint and later on for pressing stamps into too. Not very environmentally friendly though, you could use plastic ones and wash them - would buying plastic ones be more or less environmentally friendly than throwing away paper ones?!....Anyway....

Next we used various things we found in the kitchen to use as stamps. We made patterns, built up pictures and generally just played around with different shapes and colours. The baby even joined in and was quite fascinated by the whole thing. Another idea I've seen is to use nuts and bolts as stamps, but that will have to wait until the baby has a nap as she'd been keen to eat them!


M came up with lots of ideas of things we could use, and then suggested doing some printing. We did some before Christmas to make cards and she really enjoyed it. We used a bit of acetate I had to do some mono printing - I love monoprinting and will definitely be doing some more of it with M, it's great for all ages. If you're not sure what it is have a look on Pinterest, here's an example I found. 

We just painted onto the acetate and then turned it over onto the paper and used a roller to print the drawing.


We also made our own stamps using foam stickers and wooden blocks, I've seen a few ideas for this too and it works really well.


The final thing we tried was stenciling using some plastic stencils which we had.


We got pretty messy and had to have a bath afterwards!


I must buy some ready mix paint rather than using acrylics, which I like but they are a bit of a pain to wash off.

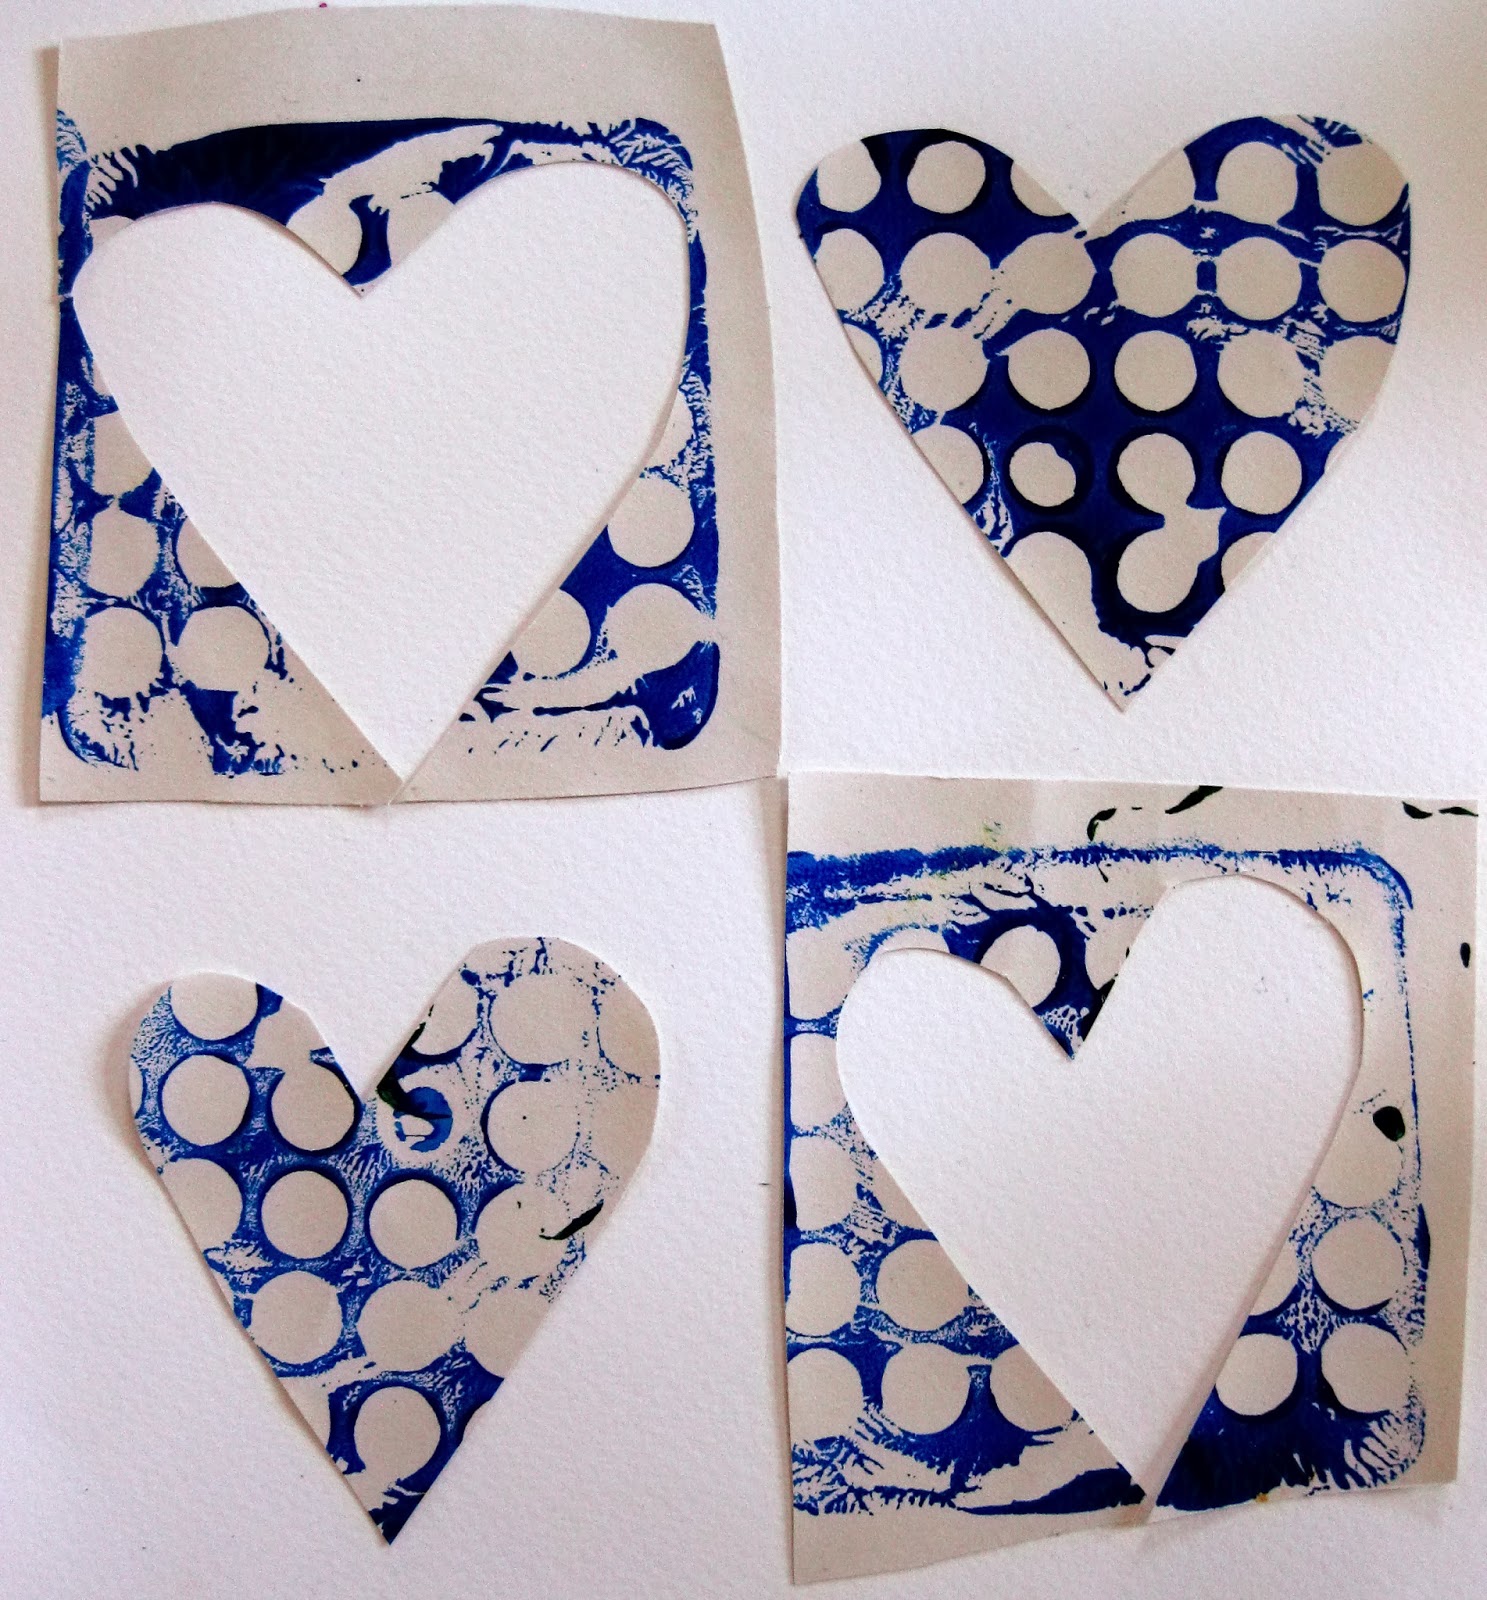
Once the painting we had made had dried we cut it up to use for thank you cards 

Friday 24 January 2014

wooden spoon puppets

Quick post with an idea for something to do over the weekend perhaps?

As often is the case pinterest was the inspiration for this! I picked up some cheap wooden spoons from the supermarket - 30p each! but you could use old ones or look in charity shops etc. 

We just used felt tips, foam shape stickers and of course googly eyes! all available at art and craft shops and often at supermarkets too.


I did this on holiday with children aged 2-5. You could add making clothes for the puppets for older children or making puppets for a specific story (little red riding hood, goldilocks etc) 

The children came up with the idea of making faces on the back of  the puppets, goodies and baddies!


We used the same idea to make monster puppets for a halloween party and I'm thinking about pirate puppets for a birthday party that is coming up soon!

Have a nice weekend!

BYE!


Tuesday 21 January 2014

What to do with all those paintings....

I've only got one in full time painting production mode at the moment but once her sister joins in I think we are going to have to move house (again) to accommodate the results! We have a "gallery"   I'm not good at changing the pictures over but there are some good ideas I've found to make that easier on my "what do to with all those paintings" board on Pinterest. Apart from displaying their paintings and drawings the other good use I've found is to turn them into cards, thank you cards, birthday cards etc


The painting/drawing needs to be on reasonably thick paper but sugar paper works fine (these were done on lining paper) These were made from a big painting we did on paper on the floor and just cut up. You could add drawing, stickers, glitter, collage, appropriate number for someone's birthday etc. You could also cut a squre from a painting and glue it onto folded card for a greetings card or just flat card to turn it into a post card.

You could also cut shapes out of a painting or drawing and arrange them onto another piece of paper or card to make a greetings card or a picture to be framed. This is a nice parent child collaboration or something an older sibling could do.


The small hearts were cut from tin foil that M had painted onto. She had a go at her own design as well.


 See Here is another nice example of  this idea.

Any other good ideas for what to do with all those paintings would be very welcome!

Pinterest Facebook Twitter